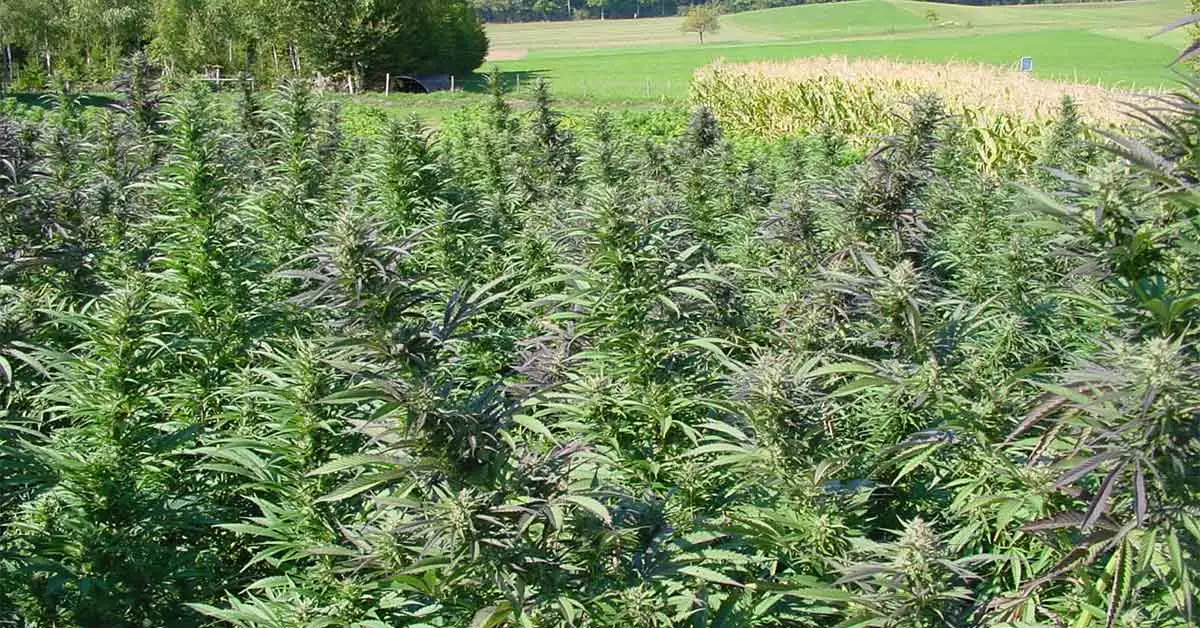
If you sowed your cannabis seeds outdoors in the late spring then harvest day is soon approaching! The thing about growing cannabis, which non-growers often fail to appreciate, is that each stage of the outdoor cannabis grow process requires preparation, planning and a good degree of patience in order to get the most out of a crop.
The harvesting process is no different in this aspect and to the ‘3 Ps’ we can also add in the importance of timing in relation to harvesting outdoor cannabis. Without the control that an indoor set up provides, keeping a close eye on your environment in the next few weeks is a crucial element in your harvest (as highlighted in article).
While harvest may still be a few weeks off, the preparation stage has begun and you should be monitoring your cannabis plant buds for signs of ripening. Your guide is the plant’s pistils and trichomes. The pistils (hairs) of ripe buds will start to turn red/brown as harvest day approaches and if your buds are showing more than 50% change in color then that is the first sign they are ready for plucking. However, the most reliable guide is the bud’s trichomes and a good rule of thumb is that when these change from ‘milky’ to amber it is time to chop (a good rule of thumb is 70% milky/30% amber).
Steps to Follow for Harvesting Outdoor Cannabis
- Do Your Preparation. This begins a week to 10 days before your harvest date by ending nutrient feeds and flushing the plant with water to remove trace elements and avoid fertilizer traces from contaminating the taste of your buds. Outdoor plants are not as susceptible to this as indoor plants when grown direct in the earth (due to their surface area spread), nevertheless it’s still a good precaution. Once flushed, many growers will leave the plant unwatered for a week or so to let the plant’s roots suck up every bit of moisture in the soil.
- Create Your Drying Space: Once your cannabis plants are cut they will start smelling the place up, so prep this space before you cut! Make sure it is dark, has good airflow and a controlled temperature (around 20 – 22° C) and make some measures for odor control.
- Check Your Schedule. Yes you’re watching your plant for signs of readiness, but your harvest also has to fit in with your own schedule. The process is a long one and it is always a good idea to factor in the variables! What’s the long range weather doing? What are you doing?! Do you have any trips planned away, any guests coming to stay, rent or utility company inspections etc? Around harvest time you will need a week to 10 days for the cut and dry process so avoid unnecessary interruptions.
- Harvest day Prep. Experienced growers recommend that cannabis plants are harvested in the morning as this is when THC levels are at their highest. Before you start, prepare your tools; Scissors or pruning shears (sharp and clean), disposable gloves (to avoid your fingers becoming resin sticky), newspaper (just very useful!) and a cleaning agent (rubbing alcohol to keep scissors sterilized and clean off all that sticky resin). If you’re dry trimming, cut the plant at the base (leave the root system behind as this will just cause an earthy mess!) and if you’re wet trimming, take off a branch at a time.
- Trim Technique. Your choice is wet or dry. Wet trim is a method preferred by those with limited space and is also more advisable if there is more moisture in your environment (ie northern regions) as buds will dry out quicker. This involves removing branches and manicuring buds immediately and hanging them to dry (hanging from a stem hook on cotton thread lines is a popular method). Dry trim involves cutting the whole plant and hanging branches for a few days to dry before trimming. It is suggested that this improves taste and potency, although it is not true that doing this will cause resin to drain into the leaves. You can find more essential trimming tips here.
- Manicure Tips. So the one thing everyone can agree on is that this is a time consuming process (and usually takes longer than you anticipate), so be patient! The good thing about growing Paradise Seeds strains such as Wappa and Delahaze is that they have been bred with a high calyx to leaf ratio, which makes the manicure process much easier. Nevertheless, there is still much work to be done. Manicuring is easiest straight after harvesting as the leaves are still soft. While those small sugar leaves are often dusted in crystal, avoid the temptation to include these with your manicured bud as once dry the excess leafy matter will affect the taste.
- More than Buds! It’s tempting to focus on the buds, but the trim process provides other sources of material. By cutting over a sheet of glass you can collect crystally leaf matter and trichomes which fall from the buds and this excess matter can be collected to make a potent hash.
Once your buds have been manicured it is time for the next stage of the harvesting process which is just as crucial as any other stage of the growing process. Tune in to next month’s article for tips on how best to dry and cure your cannabis buds. In the meantime, we wish you happy harvesting!


