

Contents
The equipment bill for your first indoor grow can genuinely make you sweat. Outdoor growers get off comparatively cheap, pots, medium, nutrients, and pest control cover most of it, but they trade that for zero control over their environment. Indoors, you get total control, and that control costs money upfront. The good news: spend it well once and it pays for itself within two or three harvests. Cutting corners here almost always costs more in the long run than it saves. Here’s what you actually need, and where it’s worth spending more.
Grow Tents and Spaces
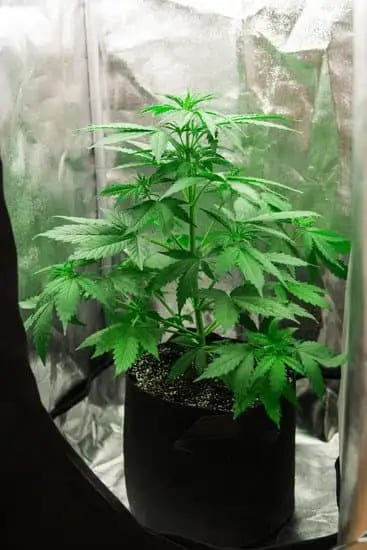
A grow tent is the most accessible piece of equipment on this list, and for good reason: it fits almost any space, from a closet corner to a spare bedroom, ships ready to assemble, and gives you a fully self-contained environment for managing climate and smell. Zipped up, it looks like nothing. Unzipped, you’ve got ventilation ports in the right places, support for hanging lights, and reflective interior fabric for even light distribution. If discretion matters, there are genuinely tiny tents built for small, stealthy spaces too.
A few things are worth paying attention to before you buy: material quality (cheap generic tents risk offgassing that can harm your plants, stick with reputable brands), ventilation ports (you’ll want several, for fans, filters, and ducting), and frame strength (most quality tent frames support 50-70 kg of hanging lights and fans, check this against what you’re planning to hang). Once it’s up, think about placement too: easy access to power, water, and ventilation, and enough room around it to actually work once your plants fill out.
Lighting Systems
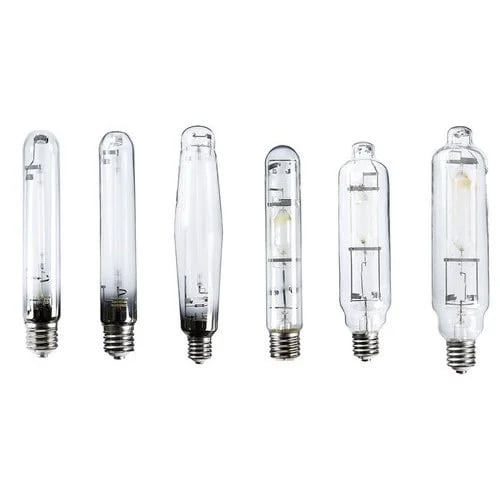
Lighting is where the biggest chunk of your budget should go, since it’s doing the sun’s job. HID lights (Metal Halide for veg, High-Pressure Sodium for flower) were the industry standard for decades and still deliver serious brightness and coverage for growers who want proven, consistent performance. LEDs have become the default choice for new growers: efficient, compact, low heat, and increasingly capable of shifting spectrum to match each growth stage. If you’re already running LEDs, our tips on improving LED performance and boosting LED efficiency are worth a read. CFLs are the budget option, lower intensity, best reserved for seedlings or as supplemental light rather than a full grow.
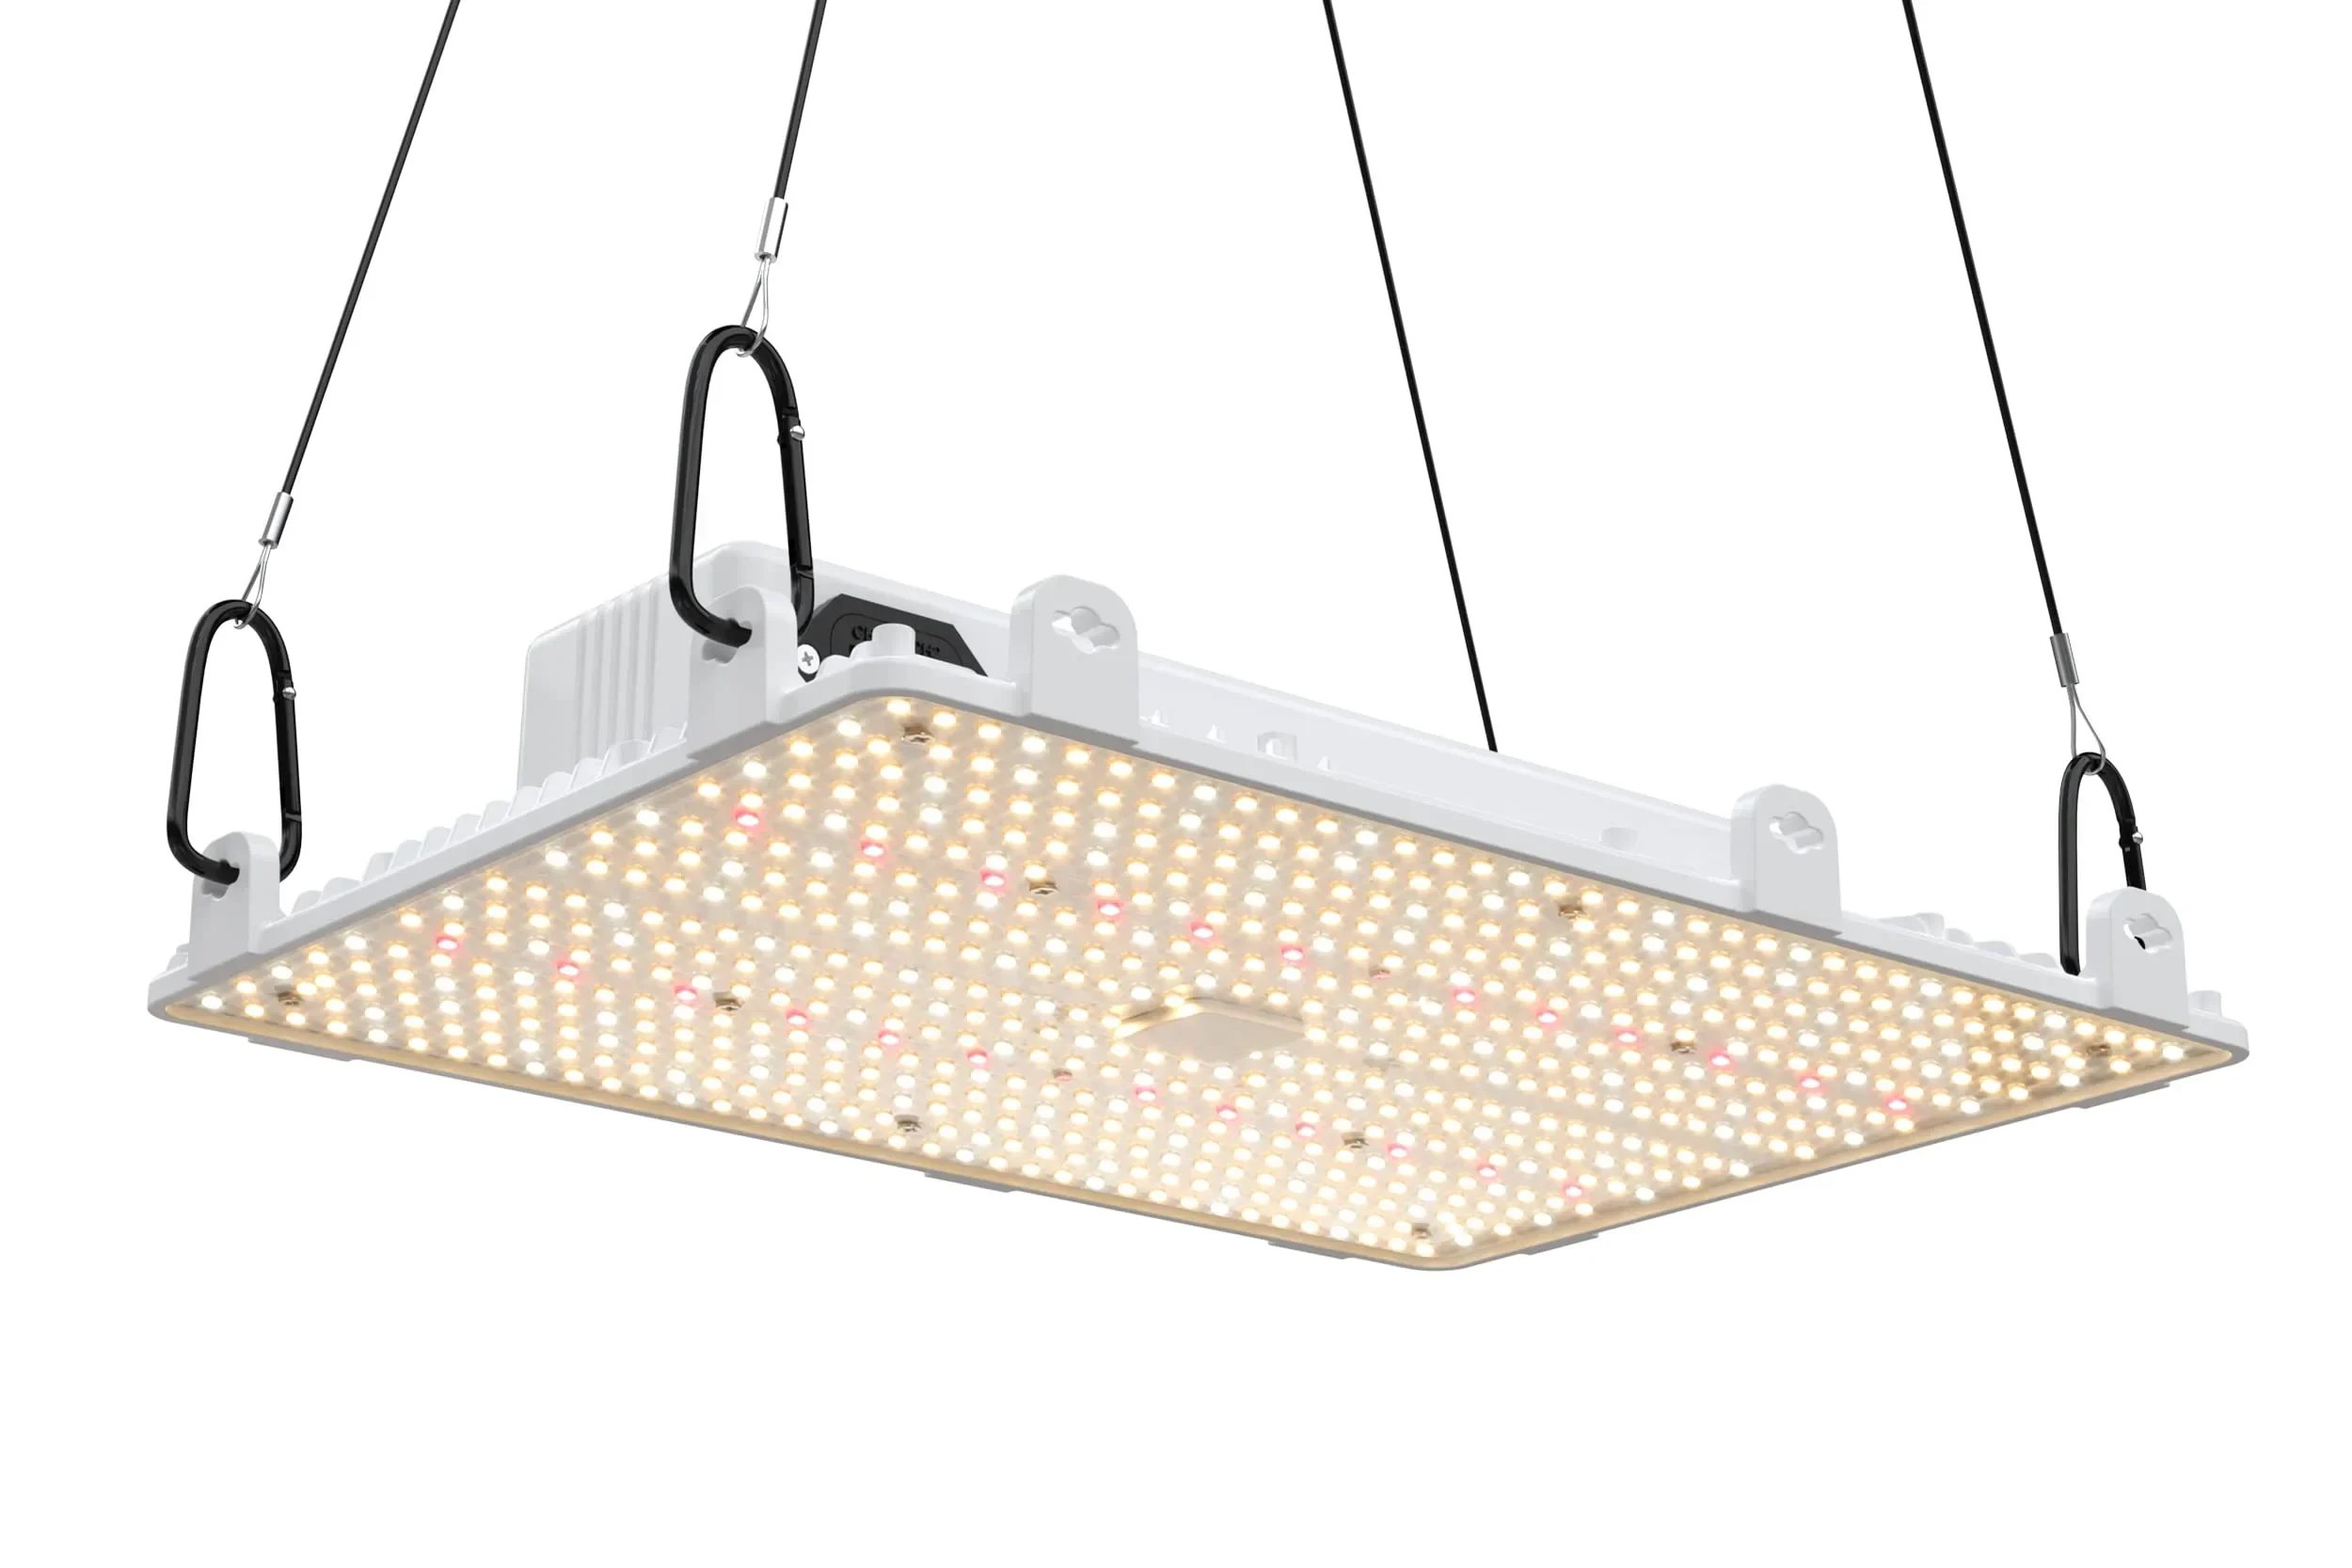
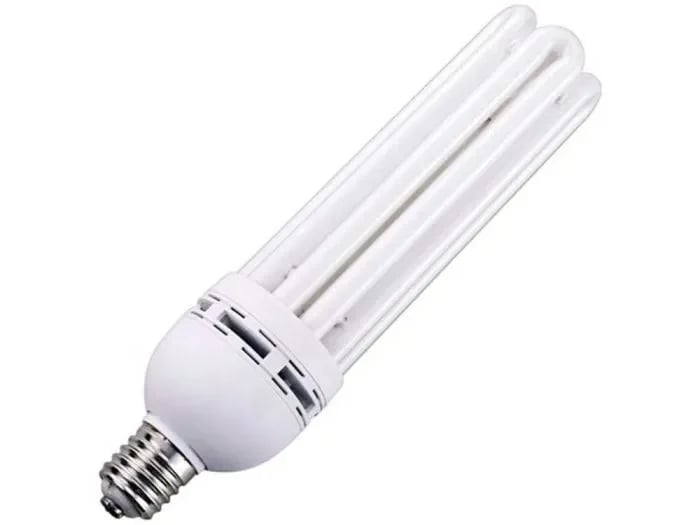
Before you buy, size your choice to your actual space, plant count, and budget. Our guides on how cannabis uses light and our direct LED vs HPS comparison go deeper if you want to compare properly. Whatever you choose, clean your fixtures and change bulbs on schedule, it’s a small habit that keeps efficiency up over the life of the equipment.
Ventilation, Air Circulation, and CO2
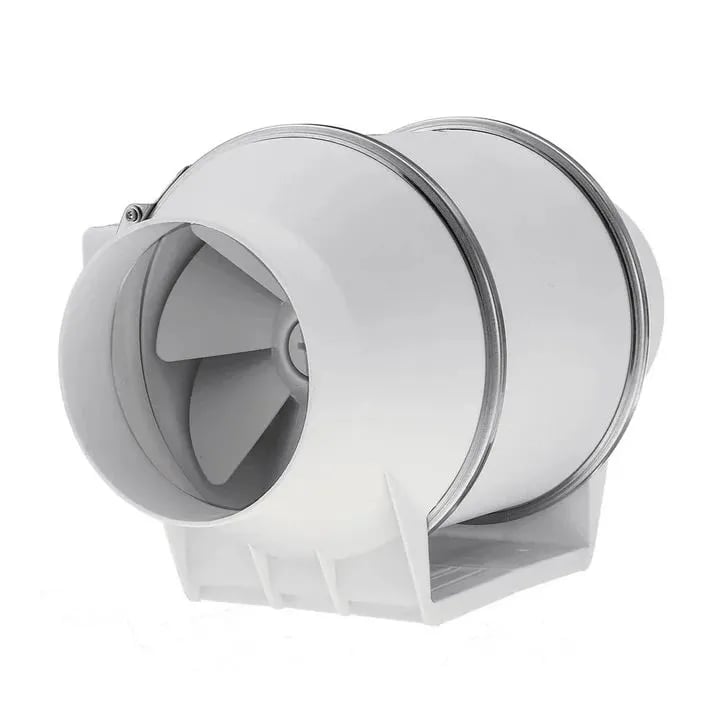
Your plants need fresh air as much as you do. An extractor (exhaust) fan is the workhorse here, pulling stale air out and exchanging it for fresh, sized to your grow space and the heat your lights put out (our heat management tips help if that’s a recurring issue). Pair it with a good carbon filter, non-negotiable if odor control matters to you, since flowering buds can get loud fast.
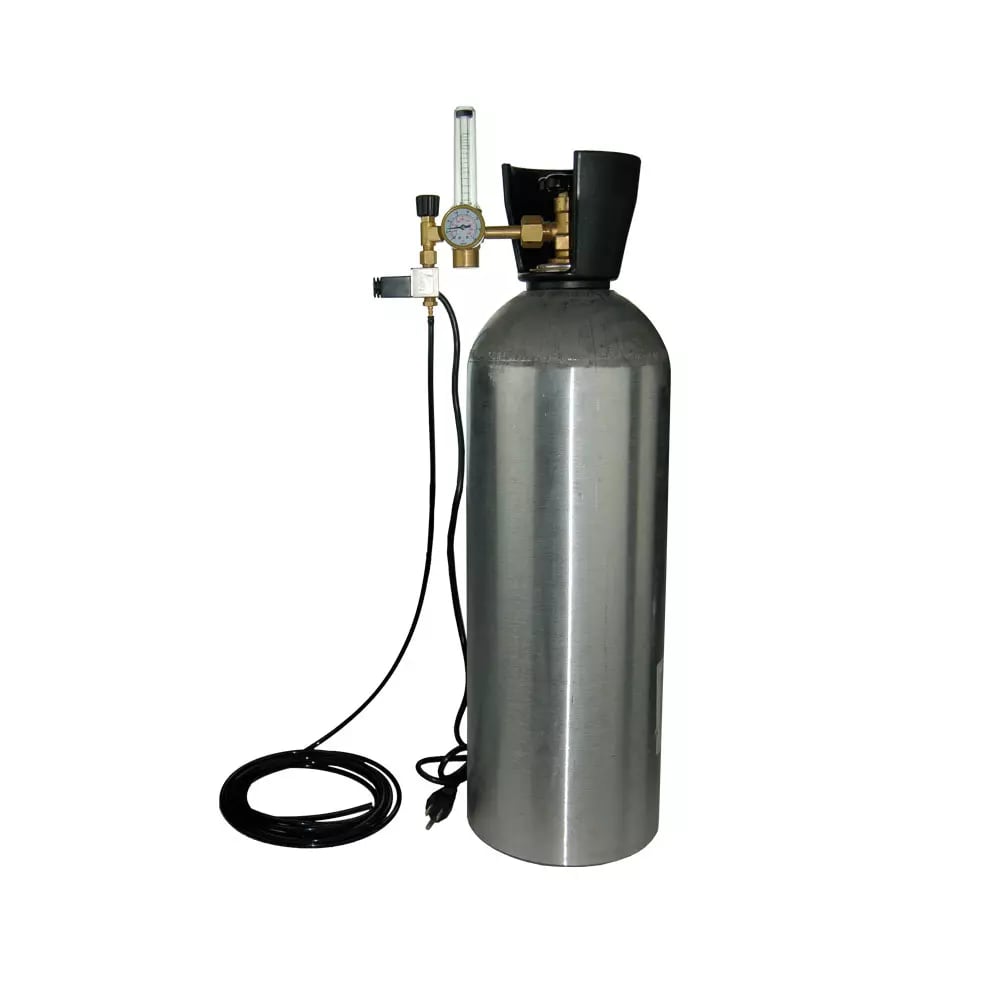
CO2 generators are worth considering once your other variables are dialed in, since indoor CO2 levels can become the limiting factor on growth once light and nutrients aren’t. Just don’t overdo it: too much CO2 can harm your plants rather than help them. Our ideal climate settings guide covers exact CO2 targets by stage if you’re supplementing.
Inside the tent, small oscillating circulation fans do more work than their size suggests: they prevent hot spots, flex and strengthen stems the way wind would outdoors, and keep still, humid air from inviting pests and mold. Just keep it a breeze, not a storm, direct blast on your plants stresses them just as much as no airflow at all.
Temperature and Humidity Control
Getting temperature and humidity right at each stage matters more than almost anything else on this list, our ideal climate settings guide has the exact targets by stage, worth reading alongside this one rather than guessing. The equipment side is straightforward: a reliable thermometer/hygrometer to actually measure what’s happening, your ventilation and circulation fans doing double duty regulating both, and a dehumidifier or humidifier to correct whichever direction your room tends to drift (dehumidifiers are especially common if you’re growing somewhere naturally humid or tropical). Larger setups, or anyone in a climate with real extremes, should look at a proper HVAC or climate control system for precise year-round control.
Watering Systems
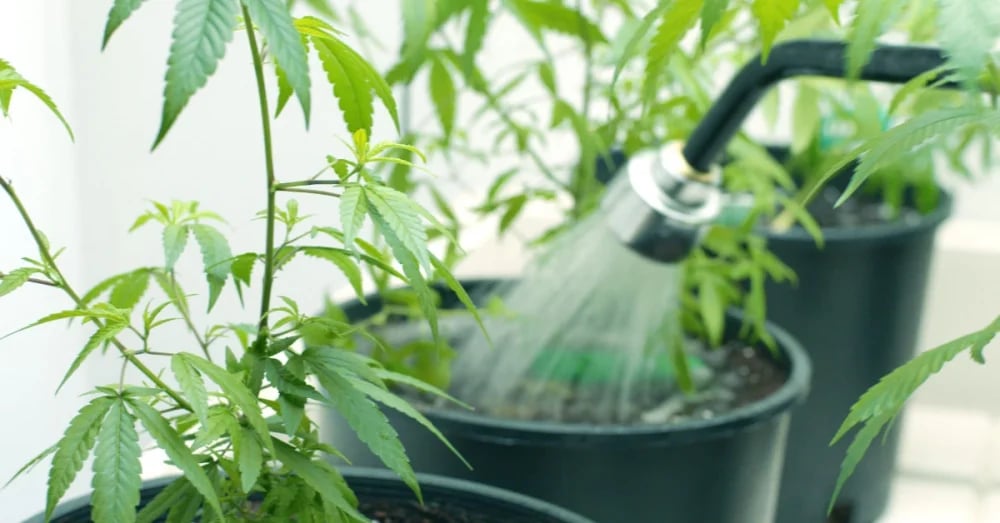
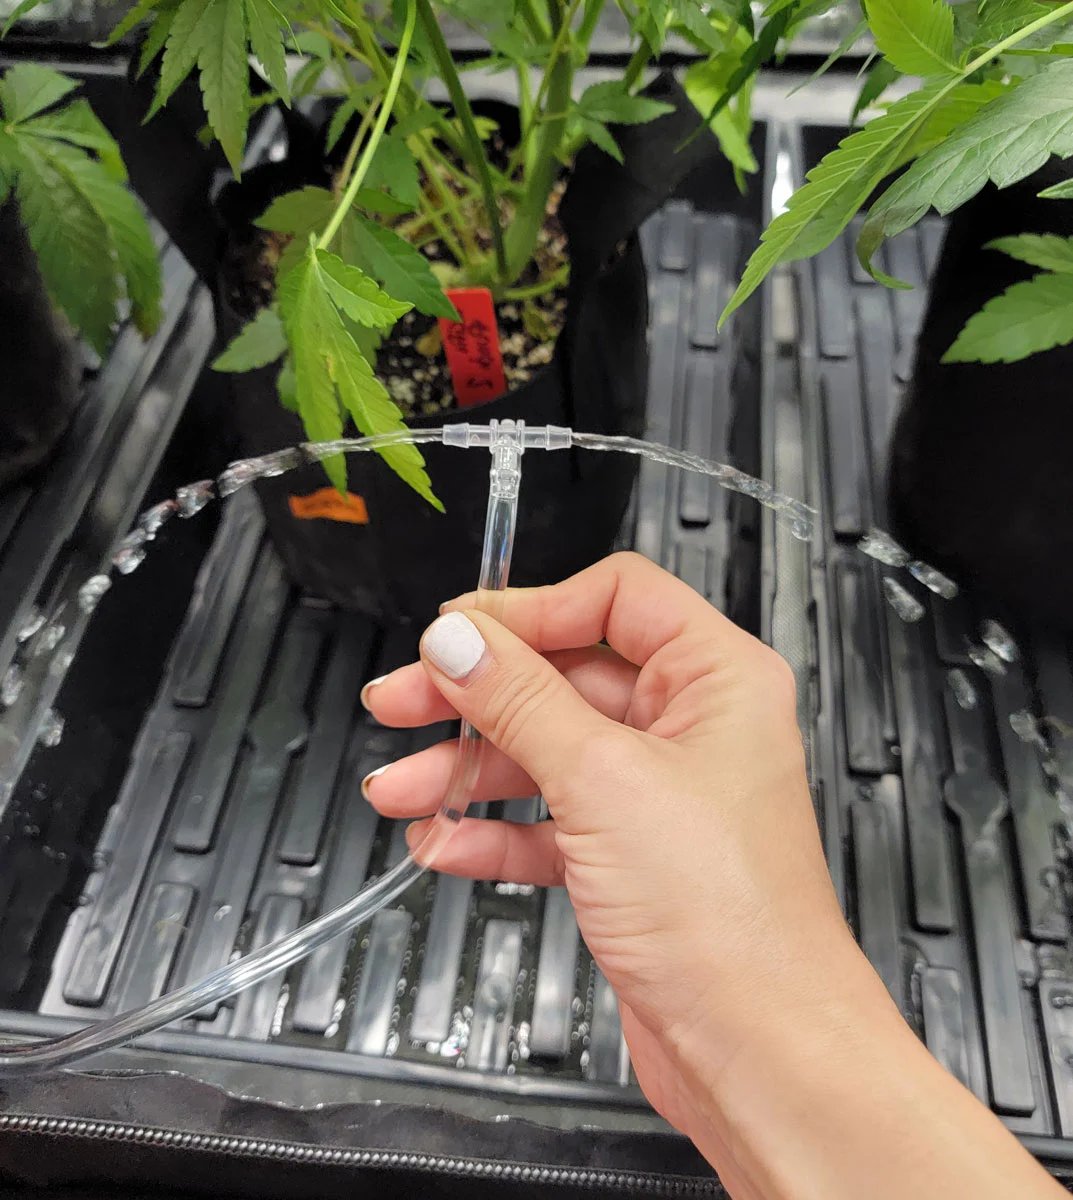
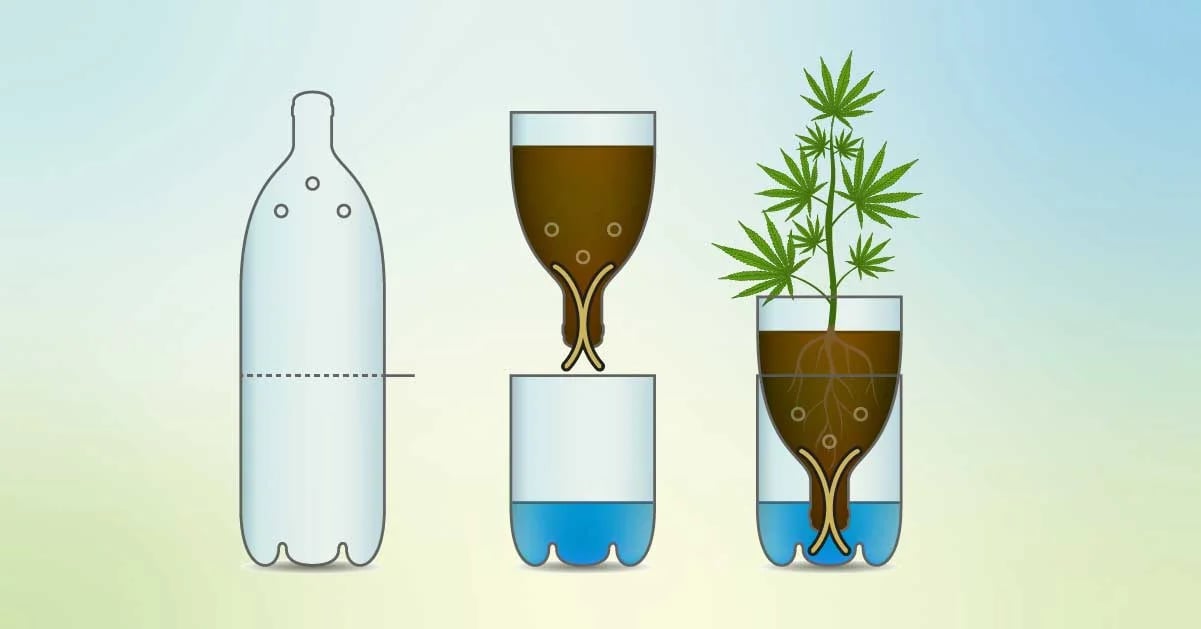
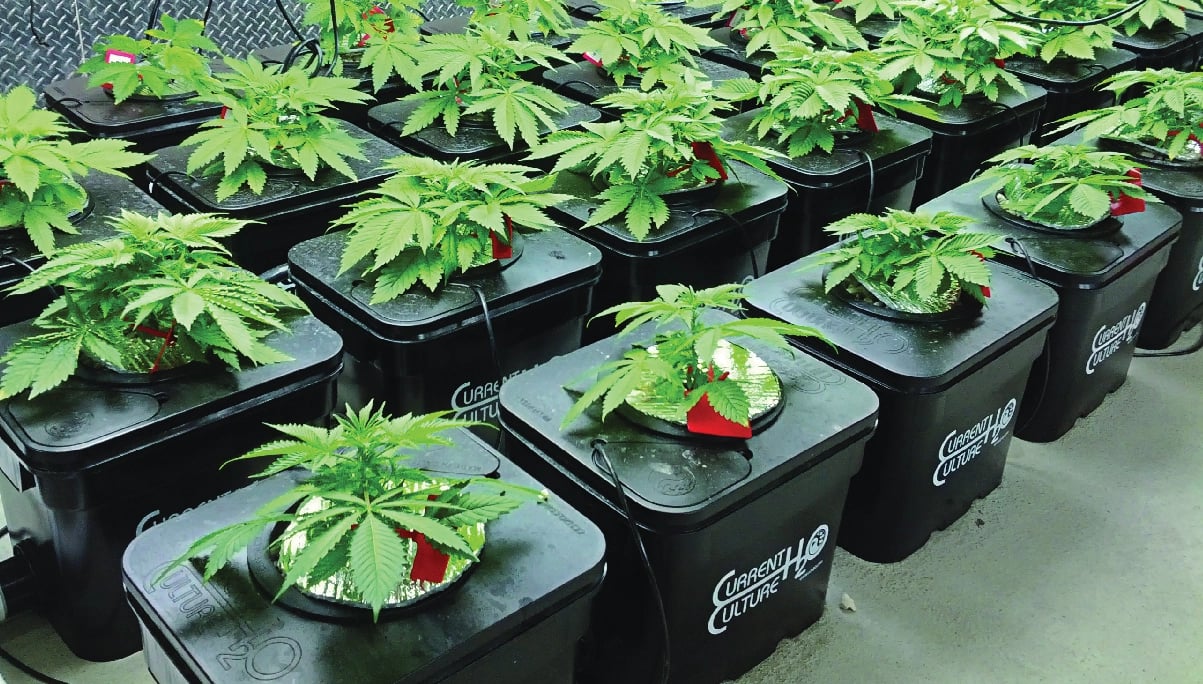
Manual watering works fine at a small scale, but a few systems make life easier as you grow. Drip irrigation delivers water straight to each plant’s base through tubing and emitters, precise, low-waste, and easy to automate for larger setups. A wick system is the cheap, low-effort option for smaller grows. Sprinkler systems are more common outdoors but can work indoors if set up carefully, overdo it and you’re looking at mold from excess moisture. Hydroponics goes further still, circulating a nutrient-rich water solution directly around the roots, covering methods like deep water culture, nutrient film technique, and aeroponics. Our hydroponic system tips are worth reading if you’re considering the jump.

Growing Medium and Containers
Most growers start in soil, rich in organic matter and beneficial microbes, and a forgiving place to learn (many outdoor growers eventually build their own soil mix). Coco coir offers more control and faster drainage but needs its own nutrient schedule. Hydroponics skips soil entirely for a nutrient-rich water solution, generally the fastest growth rate of the three, and the most demanding to run well.
Container choice matters just as much. Plastic pots are the standard, cheap and simple, size them to your plant’s expected root system since the rule of thumb holds: bigger pot, bigger plant. Smart pots (fabric pots) cost more but promote airflow to the roots, prevent root binding, and generally build a healthier root system, worth the upgrade once you’ve got the basics down.
Nutrients and Fertilizers
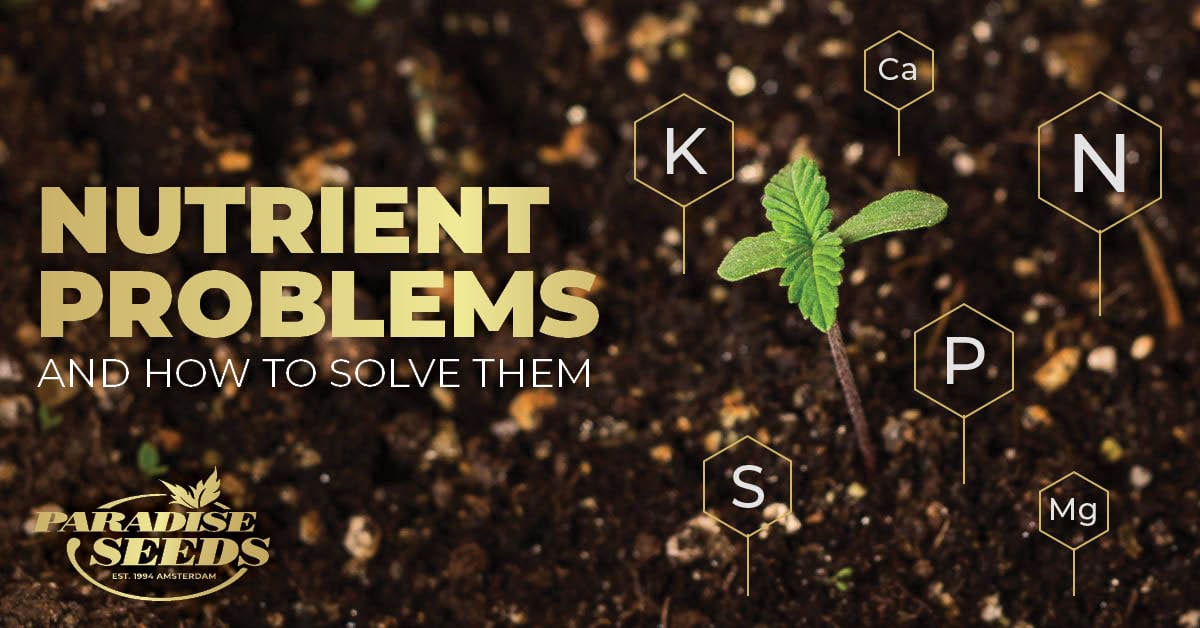
Nutrients split into macro and micronutrients, and getting the balance right is most of what separates an average harvest from a great one (our nutrient problems guide covers what deficiency or excess actually looks like). Fertilizers fall into three broad types: organic (compost, manure, bone meal, seaweed, natural sources that release nutrients slowly and build soil structure over time), synthetic/mineral (precise nutrient ratios, fast-acting, but easy to overdo if you’re not careful with dosage), and controlled-release (a steady feed over time, convenient if you don’t want to manage a feeding schedule closely). Buy from a reputable supplier and follow the manufacturer’s schedule rather than guessing.
Pest Control Equipment
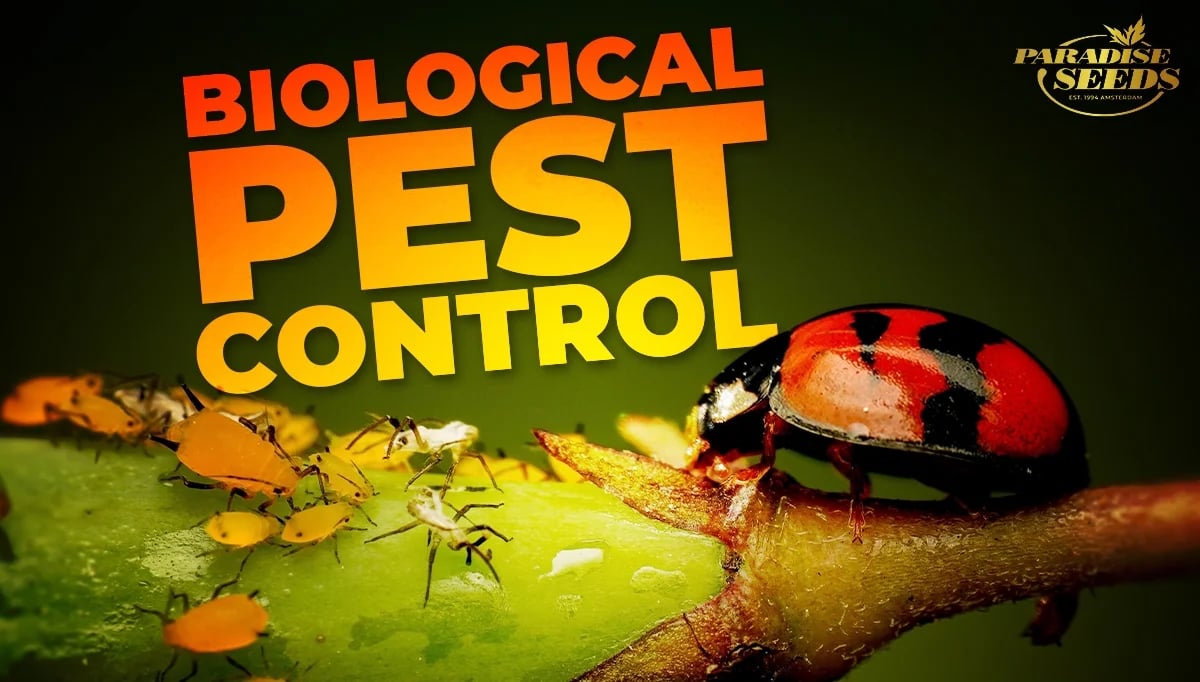
Prevention beats treatment every time, which is the whole idea behind running an Integrated Pest Management approach: regular visual checks, good grow room hygiene, and targeted treatment only when you actually need it. Organic sprays like neem oil and insecticidal soap handle most common problems. Clean clothing and gloves (a habit as much as equipment) keep outside pests and pathogens from hitching a ride into your grow room. And beneficial insects, ladybugs, lacewings, predatory mites, are a genuinely effective natural defense against aphids, spider mites, and thrips.
Buy Once, Buy Right
We’ve been growing cannabis indoors and outdoors from Amsterdam since 1994, and the lesson holds at any scale: good equipment isn’t an expense, it’s the thing that turns a stressful first grow into a repeatable one. Research before you buy, spend where it counts (lighting and ventilation first), and the rest of your setup gets a lot easier to manage.
Ready to put your setup to work? Browse our feminized cannabis seeds collection for genetics bred to reward a well-equipped indoor grow.