

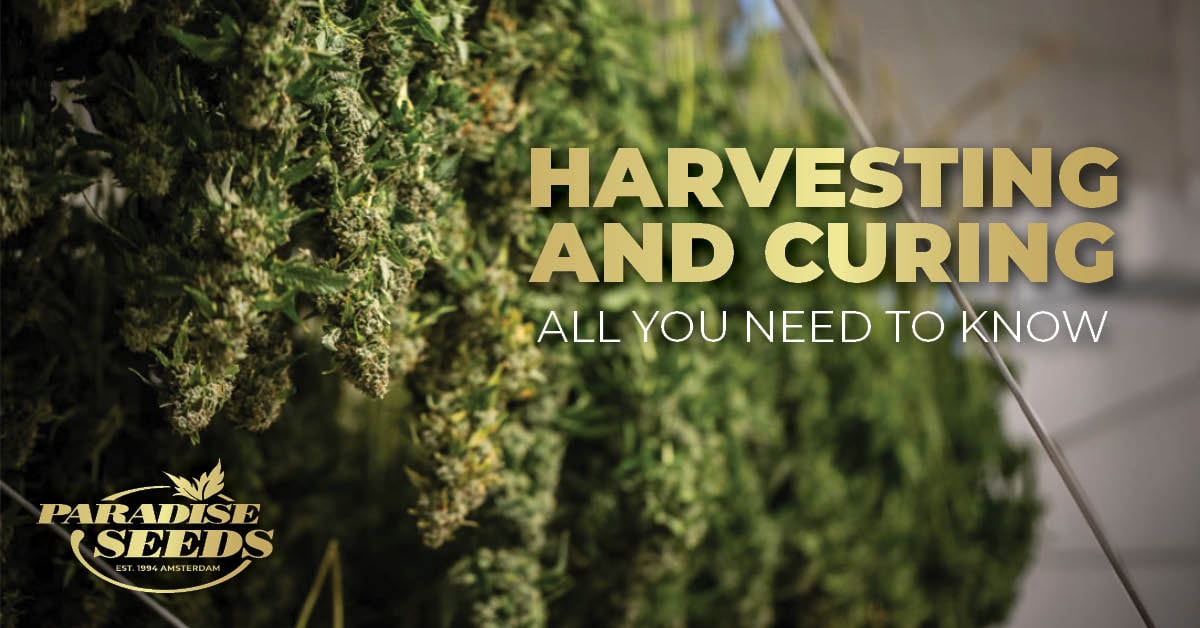
The process of harvesting and curing is the last stage in the cultivation process. Yes, there has been much work and management through all the stages, but this is the place where it all comes together.
To benefit from the advice in this guide, follow the links to key articles which explore topics in more detail.
Contents
Harvesting Cannabis
Everybody loves the kind of stinky bud which escapes from a jar like the genie in Aladdin and fills the room! But to fully benefit from such rich aromas takes more than just growing with the best cannabis seed genetics – in feminized, autoflower or CBD form.
Between harvesting and curing cannabis buds they will lose approximately 75% of its weight. With such a significant change to its structure proper drying and curing is crucial. Consequently, the whole harvesting and curing cannabis process requires the right mix of technique, knowledge and patience.
Terpenes, often called “terps,” are responsible for the unique aromas of cannabis strains. Over 200 terpenes exist in cannabis, with common ones like Limonene, Myrcene, Pinene, and Caryophyllene. Poorly cured weed can lose these essential scents, leaving you with buds that smell like hay. While you can enhance terpene development during the growing phase, this guide focuses on retaining and improve those smells through proper harvesting and curing.
The Best Time to Harvest
Harvesting cannabis at the peak of perfection is a skill that takes some time to master for new growers. In order to benefit from the smelliest, tastiest crop, with a desired potency, timing is a key consideration.
- Know your strain: Not all strains are created equal. It matters if your plant is more indica or more sativa, for example, and growing autoflowers comes with a whole different set of rules! First rule of harvest – follow the strain description guidelines of the cannabis seed breeder.
- Check the buds: Inevitably buds will have grown significantly bigger and the small hairs (pistils) which cover them will turn from white to red and brown. When 50% of pistils have turned from white to color, this is a sign of buds reaching maturity.
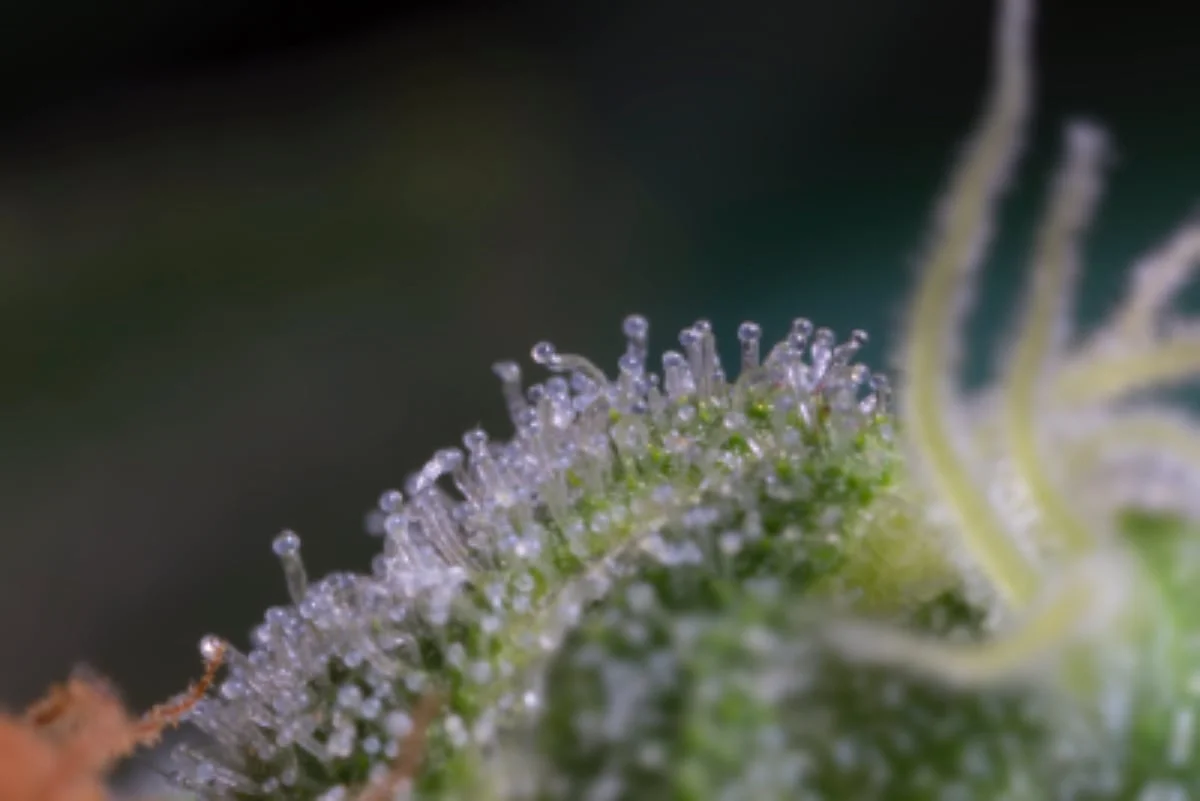
- The Trichome Test: While the above indications suggest harvest time is imminent, the most reliable indicator is the trichome test, which says that buds are ready for plucking when the trichomes are 75% milky and 25% amber.
- Selective harvesting: Many growers will just want to do the harvest in one big hit but this ignores the different ripening rates of a plant. The top buds are ready, but the bottom buds may need more time. Staggering bud picking takes more time (and adds more costs indoors), but is often worth the wait.
Tip: Don’t forget to flush your plants before harvesting to remove excess nutrients.
Harvesting Outdoor Plants
Harvesting outdoor cannabis is trickier due to uncontrollable weather and pests. Outdoor growers must be mindful of these variables, but with proper preparation and timing, you can still achieve a successful harvest.
Common Harvesting Problems and Solutions
Harvesting too early. As the flowering stage culminates, it’s easy to be fooled by the sight of trichome covered buds and assume they’re ready. But harvesting too soon will result in finished buds losing potency, taste and smell.
Solution: Follow the breeder’s guidelines and use the trichome test.
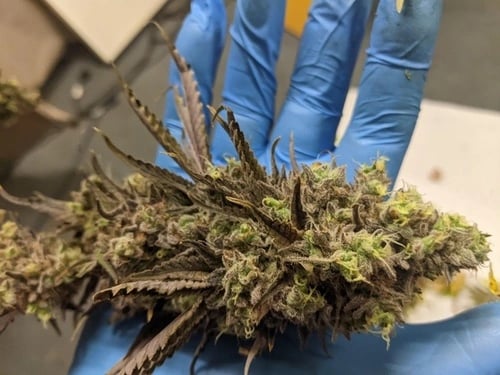
Poor trimming. It’s a common rookie mistake not to trim buds properly before drying. Common errors are big buds built around big stems and including a layer of sugar leaf.
Solution: Learn proper trimming techniques to ensure a smooth drying process.
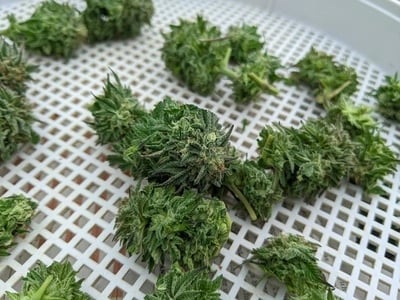
Drying Cannabis
Drying is a critical step in the harvesting and curing cannabis journey. Properly drying your cannabis buds is essential to preserve their desirable characteristics and ensure the end consumer experience is flavorful, smooth and enjoyable.
- Set up the dry space: A cool, dark room or a dedicated drying space with good airflow is what those cannabis buds need to start that drying process. Check out some good tips for creating the optimal environment for drying cannabis.
- How’s it hanging?: Drying nets or lines are the most popular ways to hang freshly harvested branches/buds to dry. Prepare these in advance and be aware of space restrictions before choosing whether to use the ‘wet’ or ‘dry’ trim approach (see the guide to trimming link above).
- Temperature and Humidity Control: Achieving optimum levels is key to a successful drying process. Aim for a temperature of around 60-70°F (15-21°C) and a relative humidity of 45-55%.
- Good Air Circulation: Good air circulation is essential to prevent mold growth during drying. Use fans to maintain a gentle breeze, but avoid direct airflow onto the buds, as this can cause them to dry too quickly. Take time and don’t try to artificially speed up the process!
- Get the spacing right: Whether using a drying net or hanging the buds from lines (made from cotton or fishing wire), giving them enough space to breathe and dry evenly is crucial. Overcrowding the drying area can trap moisture and promote mold growth.
- Light handling required: Use a light touch when arranging the buds for drying, give them minimal handling and resist the urge to squeeze them to avoid breaking off trichomes.
Common Drying Problems and Solutions
Under drying buds: This is a common harvesting and curing cannabis error; the buds seem dry enough, but after a couple of days in a storage jar they are sweaty as the inner moisture seeps through.
Solution: The stem snap test is a great indicator (if the bud is dry, the stem will cleanly snap, if it’s not it will just bend). The simple brown paper grocer’s bag in a warm place also works wonders!
Moldy buds in jars. Most growers will encounter the issue of mold during the growing stage. However, buds that have been under dried before storing can also develop mold.
Solution: Make sure that bud is properly dried before it goes into storage jars.
Over drying buds: If cannabis buds are over dried, they lose the essential moisture which creates aromatic, flavorful buds. Signs of over drying are buds which break easily and a harshness in the taste.
Solution: This issue can be corrected in storage jars. Popular tips include adding small pieces of orange peel or moist cotton balls or using humidity packs (see below).
Inconsistent drying: This can often occur when all the buds are mixed in together. Obviously smaller buds will dry quicker and larger buds take longer.
Solution: group buds into similar sizes in the drying process and keep them grouped together as they go into storage jars for the curing phase.
For a really good insight into the most common mistakes involved with the drying process, check out this guide to drying and curing.
Harvesting and Curing Cannabis: Burping, and Storage
Curing is the final step that defines your cannabis’s quality. While the process may seem tedious, it’s worth the wait. There is an art to the curing process. So how do you know you’ve got it right?

- How Long to Cure: The curing period typically lasts 2–8 weeks, with most growers recommending 3–4 weeks for optimal aroma.
- Why Curing Matters: Fresh buds often have a “green” smell and harsh taste due to residual compounds like chlorophyll. Curing allows these to break down, enhancing potency, aroma, and flavor.
- Choose the Right Container: The best container to use is a glass preserve jar, which are commonly used for jam making and preserving fruits and vegetables. They have a rubber seal to ensure the contents are vacuum packed tight, so air can’t get in or out.
- Fill the Jar Correctly: Fill jars to 75% capacity to ensure proper airflow.
- Store it right: It needs to be in a cool dark place. A refrigerator or a cool cupboard will do.
- Burp the Buds: This is the traditional method to remove moisture from the buds/jar.
First week: Open the jar twice a day and leave it open for a few minutes. Excess moisture escapes, decreasing the risk of mold developing on buds.
Following weeks: Gradually decrease the process, from every day to once every other day, and then once every few days. You can sniff the difference – the smell will turn more aromatic as time goes on.
Tip: Use a humidity pack! If there’s too much uncertainty around using the burping buds technique then take advantage of products which regulate moisture levels. A hassle free way of moisture control is to use a humidity pack.
Common Curing Problems and Solutions
A common mistake made by far too many growers is to rush this process. Yes, you want to get in there and enjoy the spoils of your harvest! But it’s always worth waiting a bit longer so you can enjoy the full rewarding experience of tasting finely cured cannabis buds.
Inconsistent Curing: This can happen when curing jars are filled with buds of different sizes. Inevitably smaller buds will cure faster than bigger buds. This can lead to flavor and potency inconsistency.
Solution: Try to cure buds in batches of the same approximate size. Also, periodically give those storage jars a gentle stir over the weeks so that it isn’t the same buds sitting at the top and the bottom.
Improper Storage: Incorrect storage after harvesting and curing cannabis can compromise the quality of cannabis buds, leading to a loss of flavor and potency.
Solution: It’s not hard, just follow the plan! Store curing buds in a cool, dark place, away from direct sunlight and use glass jars with rubber seals for airtight storage. Store it properly and buds will last a year and more… if they don’t get consumed first of course!
Conclusion
Most growers will tell you that it takes a while to get the hang of the harvesting and curing cannabis stage of the grow process. It is one of the more difficult stages to master because it is all about fine tuning, and also one of the most important.
The basic instructions are simple enough but, as with many aspects of cannabis growing, there is a certain amount of intuition involved. What happens at each of the initial stages – harvesting and trimming and hanging and drying, has an impact on the curing stage.
A useful analogy is to see this 3 step process like following a recipe to prepare a gourmet meal. Being patient and constantly monitoring is the best recipe for getting it right.