
Contents
Flowering is the payoff stage: small buds turn into the dense, resin-coated flowers you’ve actually been growing toward. It’s also the most demanding phase, small mistakes here cost you visibly in the final harvest. This guide covers feminized photoperiod strains specifically, though flowering looks broadly similar for autoflowers, the real difference is that autoflowers trigger flowering by age rather than light change, and typically run their entire germination-to-harvest cycle in 60-70 days regardless of light schedule.
What Actually Happens
Flowering is triggered by a shift in light hours: naturally outdoors as autumn days shorten, or indoors by switching to a strict 12/12 schedule. For most photoperiod strains, the full flowering phase runs 8-11 weeks, sativas typically running longer than indicas.

Once triggered, the plant redirects its energy from vertical growth into flower development at the branch nodes. Small buds form and gradually build mass. Calyxes, the protective structures that form the basis of each bud, swell and develop. Pistils, the thin hairs emerging from the calyxes, start white and shift color as buds mature, a key harvest signal. Trichomes, the resin glands producing both terpenes and cannabinoids, shift from clear to milky (or amber) as they mature, another reliable harvest indicator. Lower leaves often yellow and drop as the plant redirects its remaining energy upward into the flowers.
Flowering Week by Week (With Pictures)
The photos below follow one Nebula plant, grown indoors in soil by Paradise grower BudMastero, from the switch to 12/12 until harvest. Every strain runs on its own clock, so treat the weeks as a guide and read your plant, not the calendar.

Week 1: The Switch and the Stretch
Not much changes at the tops yet, but the plant keeps growing fast. Over the first two to three weeks you’ll typically see a significant stretch, often doubling or even tripling in height. Factor that stretch into your indoor setup before you flip the lights, and lean on training techniques if you need to keep that vertical growth in check. Look closely at the very tops: this is where the first white pistils appear.


Week 2: Pistils at Every Bud Site
The plant shifts from vegetative to generative growth. Clusters of white pistils now show at the branch tips and nodes, marking where buds will form. The stretch is still running but starting to slow down.


Week 3: First Buds Form
The stretch winds down and the plant turns its energy to flowers. Small buds, resembling tiny sea anemones at first, form at every branch tip, still mostly white pistils with little mass.


Week 4: Buds Fill Out
Buds firm up and grow steadily in mass. The first trichomes appear, and buds start developing real aroma as terpenoids form. This is also when nutrient needs shift hard toward phosphorus and potassium for flower mass. Stick to your feeding schedule rather than pushing more: overfeeding here causes nutrient burn that costs you more than patience would have.


Weeks 5–6: Bulking Up
From here buds bulk up significantly, and the top colas start to stack. Trichome cover thickens until the buds look frosty. Some yellowing of lower leaves is normal as the plant moves its resources into the flowers. Denser buds hold more moisture, so keep an eye on humidity (see Climate During Flowering).


Weeks 7–8: Ripening
Pistils start to shift from white to orange and red, while lower leaves continue yellowing and dropping as the plant commits everything to the flowers it has left. Trichome production intensifies. Plants are also more sensitive to stress in this window: heat or light stress specifically can produce “foxtails”, oddly tapered, spire-like buds.


Weeks 9–10: The Harvest Window
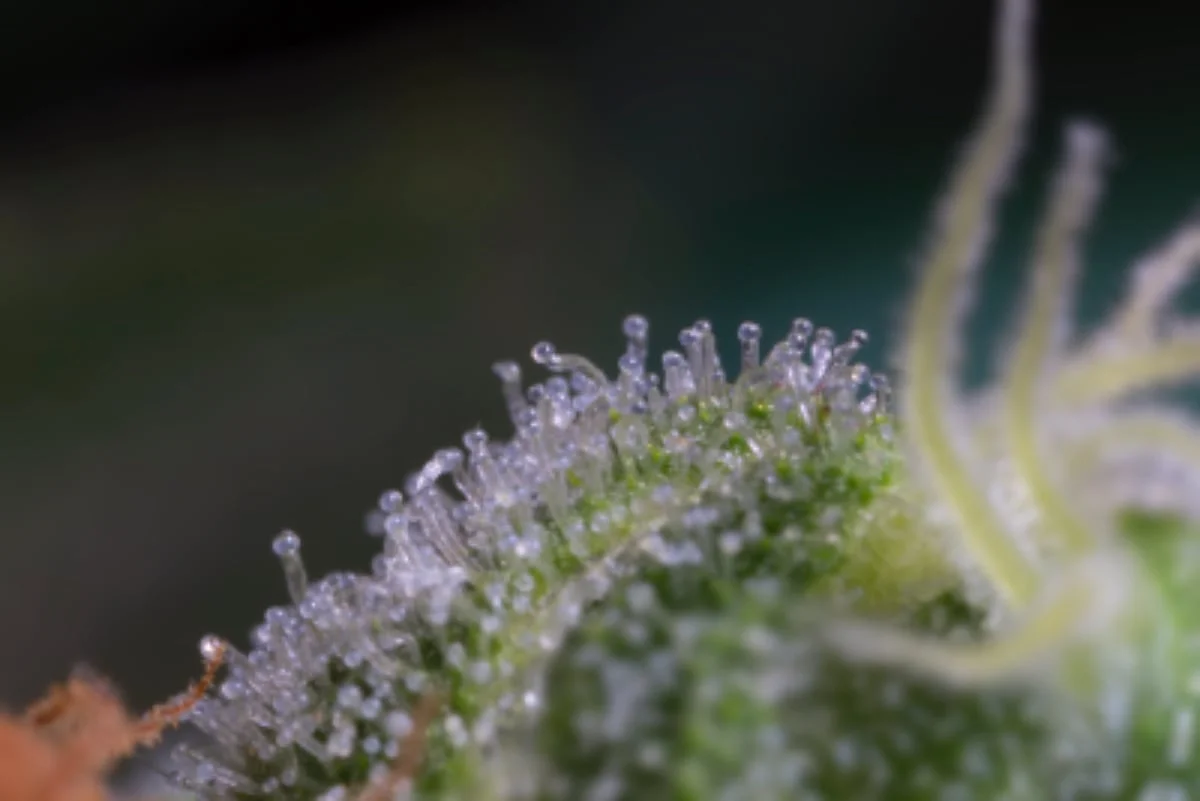
Most pistils have now turned orange, and trichomes change from clear and translucent to increasingly milky. Milky trichomes combined with more than 50% colored pistils is your clearest signal that harvest is close. Check them with a loupe or a phone macro lens, as in the photo below.


Many growers also flush with plain water in these last one to two weeks, to clear built-up fertilizer salts before harvest. Whether that’s necessary is still debated: the research so far suggests it makes little difference to the finished buds, so treat it as your call rather than a rule.

Climate During Flowering
Lighting. Switching to 12/12 triggers flowering on its own, but spectrum still matters: deep red supports flower development throughout, and many growers increase red further while adding some UVB in the final weeks specifically to support trichome and resin production, not blue, blue spectrum is what drove leafy growth back in veg and isn’t what you want more of heading into late flower. Our guide to PAR, photons, and UV goes deeper on tuning this properly. Watch for light leaks during the dark period too, even brief exposure can stress the plant enough to trigger hermaphroditism.
Temperature and humidity. Our ideal climate settings guide has the exact stage-by-stage targets, worth checking directly since the right range actually tightens as flowering progresses (humidity in particular should drop significantly by late flower to cut mold risk). As a general principle: cooler temperatures in the final weeks specifically can boost flower production, and good airflow becomes more important, not less, as humidity targets drop.
Feeding. Water and nutrient needs drop somewhat from vegetative levels but stay real, this is not a stage to under-feed. Shift your nutrient mix toward phosphorus and potassium, away from the nitrogen-heavy formula you used in veg.
Common Issues
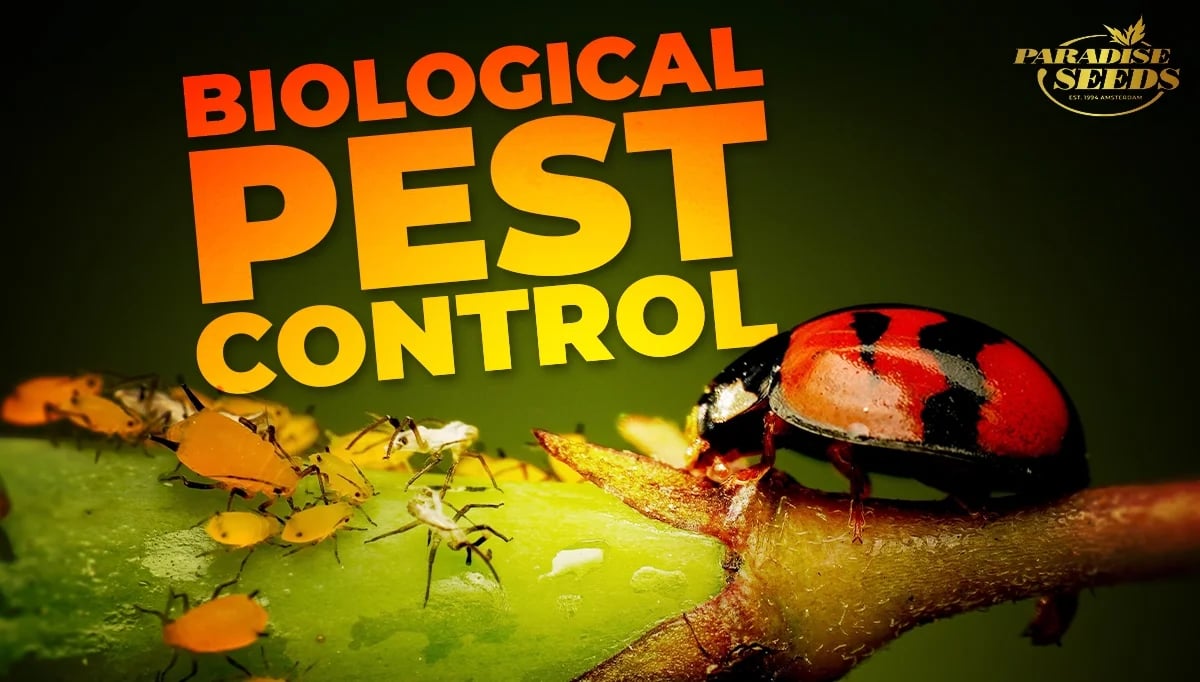
Pests are always easier to prevent than treat. A proper Integrated Pest Management approach, beneficial organisms, good hygiene, and natural predators, catches problems before they establish. Don’t wait for visible damage to start checking, by the time you see it, the infestation is usually well underway.
Hermaphroditism is driven mainly by environmental stress: temperature extremes and light disruption are the two biggest triggers. A feminized plant that turns hermaphrodite can pollinate itself and nearby plants, seeding your whole crop. Learn to spot it early, and know that some genetics, Californian-heritage strains in particular, run more prone to it. Lollipopping lower branches during pre-flower or early flower is a genuinely effective preventive step.

Mold, mildew, and bud rot are the biggest flowering-stage risk, especially outdoors, but grow rooms aren’t immune. Indoors, keep humidity below 60% with solid air circulation, trimming the canopy if foliage gets dense enough to trap moisture. Outdoors, conditions are far less controllable, our outdoor mold prevention guide covers the specifics, and our general guide to mold types and treatment is worth bookmarking either way.

Pruning During Flower: Be Careful
Removing damaged or dying leaves is fine at any point, but broader pruning is best done earlier, in veg or very early flower, since leaves are still doing real photosynthetic work supporting flower development at this stage. Defoliation is easy to overdo once you start, our Skunkworks Project video is a good watch before you pick up the scissors.
Harvesting
Once flowering wraps up, harvest is next, the most rewarding part of the cycle, with its own considerations worth getting right. Our full guide to harvesting and curing covers everything from cut timing to proper cure.
Fast-Flowering Strains to Consider
Genetics make a real difference in how flowering plays out. These are known for efficient cycles and strong resin production:
- Wappa: a fast-finishing indica hybrid with exceptional resin and a sweet, fruity flavor.
- La Bomba: an indica-dominant hybrid (60/40) with explosive yields on a short 60-65 day flowering cycle.
- Sensi Star: an almost-pure indica icon known for massive resin production during flower.
- Original White Widow IBL: the legendary 90s classic, still famous for spectacular resin output.
Grow Through It, Then Harvest
We’ve been breeding and growing cannabis in Amsterdam since 1994, and flowering is where all of that experience actually pays off, in trichomes, resin, and the final weight on your scale. Stay on top of climate, feeding, and the small warning signs, and the reward at the end is worth every bit of the attention this stage demands.
Ready to start? Browse our full range of feminized cannabis seeds to find your ideal strain for flowering season.